WordPress is one of the most popular tools in website and blog creation and provides an easy to use platform for both authors and their potential readers.
So if you’re someone who regularly uses WordPress, you may wonder if there’s a way to backup your WordPress site.
As any experienced user of WordPress knows, it’s not uncommon to encounter an error that could possibly affect the way your site functions, which is what makes the idea of backing up your site so appealing.
So to save yourself from possibly losing hours of work and preventing the risk of your site being broken, this guide will help you to learn how to backup your WordPress site and the various different methods for doing so!
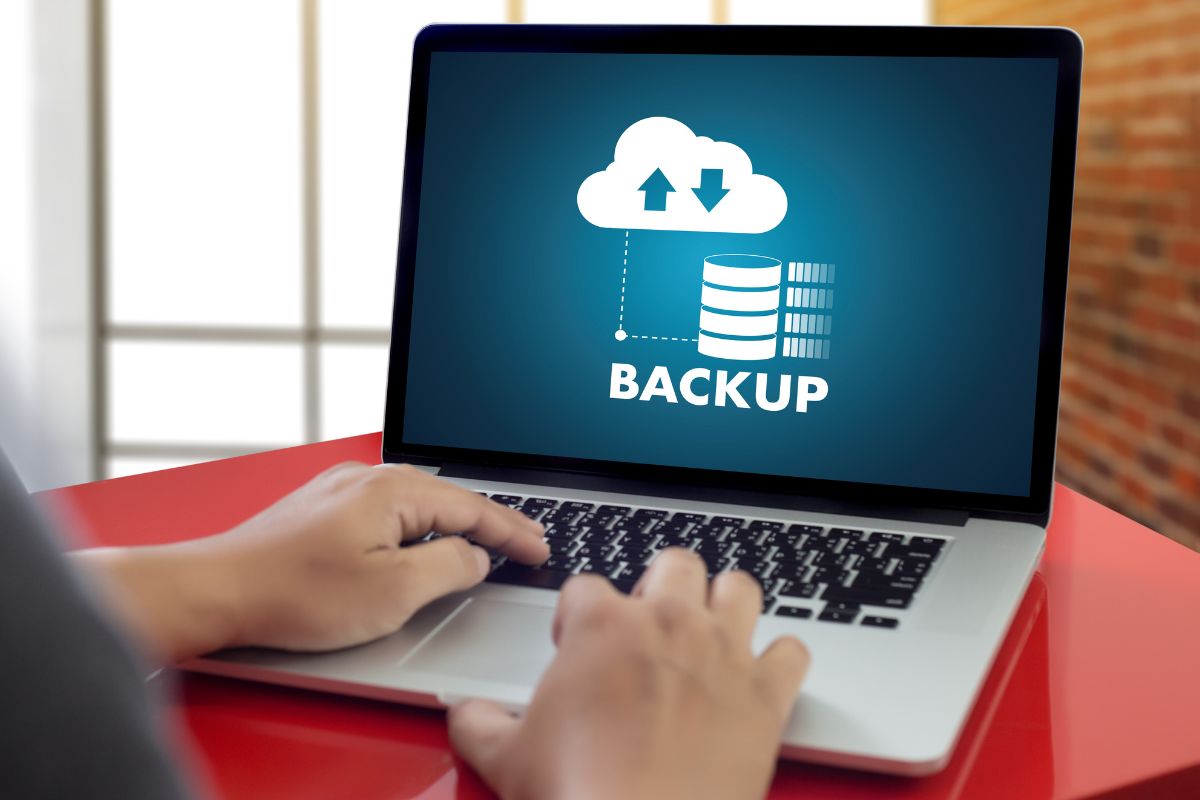
Backing Up Your Site
There are many ways to backup your WordPress site, some are easier than others, but we’ve compiled the best methods so that you don’t have to search too hard to find the best way to backup your WordPress site hassle-free.
Manual Backup
The prospect of manually backing up your site may come across as a somewhat daunting process, especially as it requires you to copy all of the site’s files as well as export the entirety of the databases’ contents, however, both of these tasks can be done easily using a reputable File Transfer Protocol, or FTP for short.
The web host you use should provide the required credentials in order for you to connect to your website via the FTP, and then once you’re logged in, you’ll be able to connect to your server and locate your WordPress root directory, which is commonly referred to as “Public”.
To begin, simply locate this file and click download.
Don’t be surprised if this takes some time, WordPress sites can sometimes contain up to thousands of files, but once it has finished, simply rename the file to something along the lines of “Sitename Backup” along with the date you backed it up.
The next thing to do is to backup your WordPress site’s database, which is done by navigating to the hosting control panel used for your site and finding the database management software.
Once you’re viewing your site’s database, there should be an option to export, click that and the database file should download instantly!
Therefore you should now have a copy of the site’s root directory as well as a copy of the database, you can zip these files together if you so wish, and will be safe in the knowledge that you have them should you need them!
If you need to restore your backup it is incredibly simple.
To do so, simply upload the backed up root folder to the server, with a different name to the original, you’ll then be able to delete the pre-existing root folder and rename the restored folder to its original name.
Restoring the backup database is also relatively easy, return to your hosting control panel and there should be an option called “import”, select this and locate the database backup from your storage, once you’ve selected it, click “Go” and the process should then be completed.
Backup Using Plugins
Backing up your site using plugins is another popular option and there are so many different plugins out there, but they can be sorted into two different categories to make understanding what they do just that little bit easier.
Full-site plugins: These plugins are able to copy the entirety of your site in order to create a backup should you require it.
Incremental backup plugins: This type of plugin generates backups but only when you make a change to the site, which prevents you from using up server storage space.
There are some other differences between the two different types of plugins too, with the predominant difference being that incremental backup plugins typically cost money.
But if you’re not willing to pay for this type of service, there are plenty of options that are all free available. Most of these plugins work the same, so once you can use one, you can use all the others!
To begin, install the plugin and then activate it, go into your plugin’s settings menu, and find the backup section.
Some plugins will offer incremental backups here, but usually as a premium feature, so unless it’s free it’s best to ignore this.
The plugin will ask what aspects of your website you wish to include in the backup. Typically the plugin will have the site’s files as well as the database already included in the backup.
Upon confirming, the plugin will then start to generate the backup file, and will add it to the “Existing Backups” section.
From here, you can also download the different aspects of your site separately, as well as delete or restore the backups from here too!
When using plugins, restoring your backup is an incredibly simple process, you’re able to choose exactly what parts of the site you want to be restored, but the likelihood is that you’ll want to restore all of the components, so ensure that you select each one.
Once you’ve confirmed this, the plugin will then get to work restoring the site to its previous iteration. Most, if not all, plugins will work this way so it doesn’t matter which one you’re using, this guide should help you perfectly!
Summary
As you can see, backing up your WordPress site is an easy process but is one that you should do regularly in order to save yourself from any stress or hassle if your site happens to break!
So whether you decide to backup your website manually following the instructions provided above, or download one of the many plugins on offer that will help to back up your site for you, then you can rest assured that your site and its data are safe should anything happen to it!
Hi, my name is Ollie Wilson and I have been a keen blogger since I was a young teen. I was growing up with the rise of YouTube and bloggers, and the people I followed influenced me to start blogging. They were making a lot of money from their blogs, and I wanted that too!
I’ve now had this blog for almost a decade. In that time, I’ve learned how to monetize it to start earning money, which servers are the best for each blog type, and how to optimize your domains.
Now it’s time to share my knowledge and help others create their own successful blogs, just like I wish I had when I was creating my first blog. It can be daunting when you first set up your site, but with my advice, you’ll have a great looking blog in no time. Let’s get started!


")
")


