With near-endless options for customization and tons of handy features, there are plenty of reasons to love WordPress.
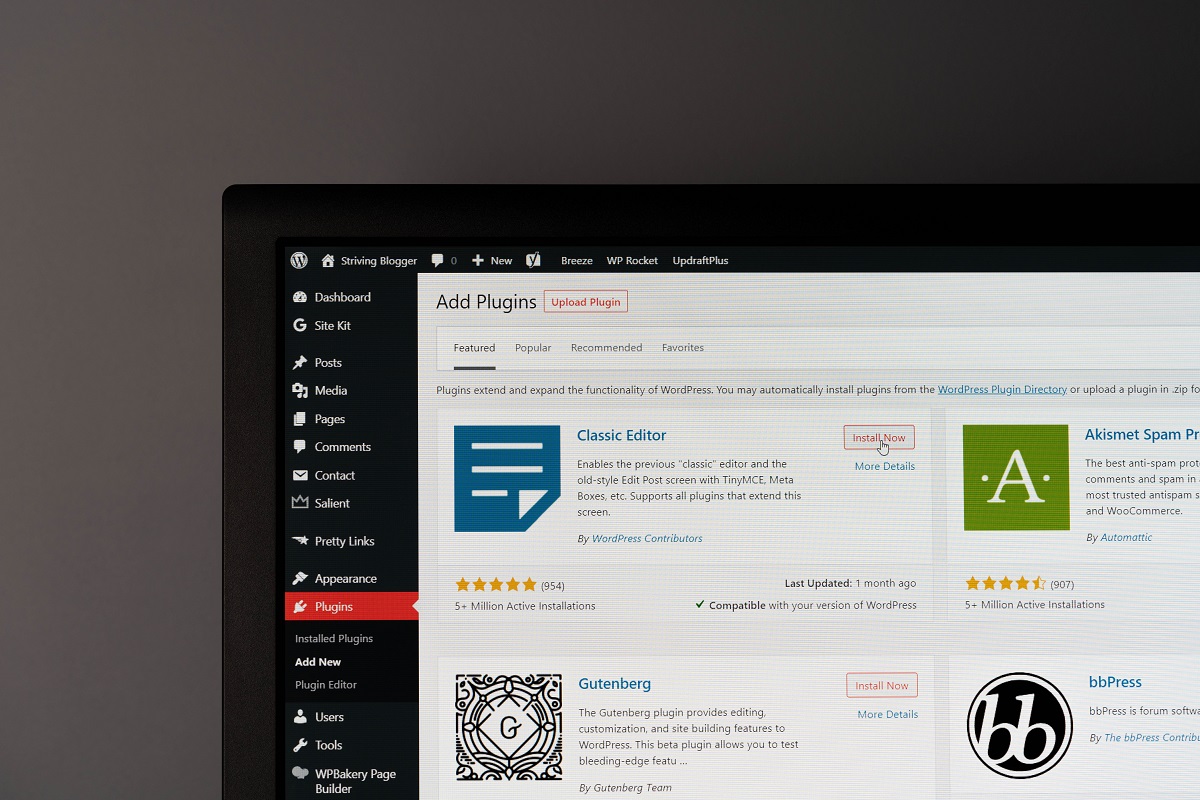
One of these fantastic features is the ability to add plugins to your site.
Sure, plugins allow you to link your social media to your blog, but do you know about one of the best plugins on WordPress: multisite?
Multisite is a nifty tool that lets you create and manage an entire network of websites from a single WordPress dashboard.
This is incredibly useful, but how exactly does WordPress multisite work, and how can you get it for yourself?
Luckily for you, we’ve done all the hard work already! In this handy guide, we’ll teach you exactly what WordPress multisite is and how you can set it up – so let’s get started!
What Is Multisite?
First things first – what exactly is WordPress multisite? As we mentioned before, it’s a plugin that lets you manage multiple websites from one WordPress dashboard; however, it’s a little bit more complicated than that.
Multisite is used to help businesses and companies create and oversee their network of websites in an easy and streamlined way.
Using multisite lets them switch between their websites without having to log out and sign in every time they switch sites.
Normally, if you have more than one website on WordPress you’d have to do this every single time you even want to view another site, as you can imagine, this gets irritating very quickly – and it only gets worse the more websites you own.
Installing multisite completely gets rid of this issue by letting you manage all of your websites through the one WordPress login, giving you control over each website to switch between with the click of a button.
You don’t need to be a large company with dozens of websites to benefit from WordPress multisite.
As long as you have more than one website on WordPress, multisite is a great tool for you to use!
How To Set Up WordPress Multisite
So now we’ve covered what WordPress multisite is, let’s take a look at how you can get it for yourself.
With this handy step-by-step guide, you’ll be able to install and start using WordPress multisite in no time!
Step 1) Open WordPress
First of all, you need to open WordPress. If you haven’t already installed WordPress, download and install it now.
You’ll also need to make sure that you don’t already have any other plugins installed when you’re setting up multisite.
Once you’ve opened WordPress, connect to your website through an FTP connection with a client such as FileZilla.
This will let you install plugins on your WordPress, including WordPress multisite.
Step 2) Locate The Directory
Now that you’ve opened your website, you need to find the directory. This is located in the core files of your WordPress site.
You can access the directory through the dashboard of your FTP. For example, if you’re using FileZilla you can find the directory in the ‘public_atml’ folder.
Now just open the folder, and you’ll be able to look at and change the core files for WordPress!
Step 3) Open The ‘wp-config.php’ File
In the directory, you’ll find a list of folders and files. The one you’re looking for is titled ‘wp-config.php’.
This is a file that will open up the developer code for your WordPress, which allows you to install plugins.
Locate the wp-config.php file and open it.
Depending on your FTP client, the wp-config.php file might be located in another folder called ‘cPanel’. Open this and you’ll be able to find the file.
Step 4) Enable WordPress Multisite
Now you have access to the config code, you have to add some code to the file.
This might seem daunting, but it’s really simple as long as you follow these instructions.
First, scroll down through the code until you reach the line:
/* That’s all, stop editing! Happy blogging. */
Above this line, write the following line exactly (apart from the quotation marks): “define(‘WP_ALLOW_MULTISITE’ true);”
That’s all you need to do to allow access to WordPress multisite to your network! But you’re not done quite yet.
Step 5) Refresh And Log Back Into WordPress
Without changing anything else in the config file, refresh your WordPress site. This will prompt you to log back into your WordPress network.
Once you log back in, go to the Tools menu and select the Network Setup option. This brings up a menu in a new tab.
Here, you can configure your multisite network for your WordPress sites.
This includes whether you want your websites to be their own subdomain or subdirectory (which affects their URL and how they function within your multisite network), as well as the option to change your network’s name and admin address.
Just bear in mind that these choices can’t be changed later!
Step 6) Add Code To wp-config.php And .htaccess
When you’re finished configuring your network settings, click the Install button. This will bring up a new screen with two snippets of code.
Copy and paste these, as you’ll need them later.
You now need to go back into your FTP client to access the wp-config.php file and the .htaccess file. Both of these are located in the WordPress directory.
Open wp-config.php as you did before and paste the first piece of code directly above the line: /* That’s all, stop editing! Happy blogging. */.
Next, locate and open the .htaccess file also located in the public_atml folder. Paste the second piece of code in here.
Finally, log in to WordPress one more time. Now, you’ll be able to find the WordPress Multisite Admin bar at the top of your screen!
Final Thoughts
WordPress multisite is an incredibly handy tool that lets you manage a whole network of websites from one convenient dashboard.
Now you know a bit more about what WordPress multisite is and how you can install it yourself, all there is left to do now is try it out for yourself!
Hi, my name is Ollie Wilson and I have been a keen blogger since I was a young teen. I was growing up with the rise of YouTube and bloggers, and the people I followed influenced me to start blogging. They were making a lot of money from their blogs, and I wanted that too!
I’ve now had this blog for almost a decade. In that time, I’ve learned how to monetize it to start earning money, which servers are the best for each blog type, and how to optimize your domains.
Now it’s time to share my knowledge and help others create their own successful blogs, just like I wish I had when I was creating my first blog. It can be daunting when you first set up your site, but with my advice, you’ll have a great looking blog in no time. Let’s get started!


")
")


