If you have a website with DreamHost and want to incorporate WordPress so you can manage it, then you may be wondering what to do next.
You first need to know exactly how to install WordPress and set up the platform so you can use it like a pro.
This article will teach you how to do this and walk you through the setup and installation process. So, let’s get started!
What Is WordPress?
WordPress is a content management system, also known as a CMS. It allows you to build and manage your DreamHost website easily and can adapt to any kind of website.
It can be used for a simple blog website or a large-scale e-commerce site due to its amazing adaptability.
Currently, WordPress powers over 28% of all websites on the internet and is used to build businesses, portfolios, and online stores.
What Is DreamHost?
DreamHost is a web hosting service that allows you to build a Linux-powered website for both personal and professional use.
You can integrate many different software into a DreamHost website, including WordPress for content management.
It is designed to help your website become successful and visually appealing with its included website-building software.
What Is WordPress One-Click Install?
You can quickly and easily set up new WordPress installations in the DreamHost interface with the One-Click Installer.
For One-Click WordPress installations, the DreamHost panel offers a number of services, including website renaming, automated WordPress version updates, and simple DreamPress upgrades.
Below, you’ll find detailed instructions on how to use the WordPress One-Click install.
One-Click Installing WordPress
Using The One-Click Installs Panel
To install WordPress on DreamHost, log into your account and navigate to the “One-Click Installs” page.
Click “Learn More & Install.”
Enter the following values:
Install to – select the domain you’d like to install to and add a subdirectory in the adjacent textbox if applicable.
Select Database – it’s likely that you’ll want to choose “Automatically Create Database” as this creates a unique database for your site, but you can choose an existing database if you prefer.
Deluxe Install – it’s recommended that you check this box as it gives you access to free features that are listed below.
Install WP Website Builder – this adds the WP Website Builder tool to your dashboard to help you design and build your website.
Click the “Install it for me now!” button and within 15 minutes an email will be sent to you detailing the last steps before installation is complete.
Using The Website Panel
Log into your account and go to the “Manage Websites” page.
Find your website and click the “Manage” button.
Scroll down to the WordPress section and click the blue “Install” button.
Click the “Install WordPress” button and within 15 minutes an email will be sent to you detailing the last steps before installation is complete.
Deluxe Install
WordPress offers its users free features with the Deluxe Install option. This includes important customization features that are great for beginners to get started building their website.
The Deluxe Install includes free, open-source themes for your website, a selection of plugins, and security enhancements to keep your website safe.
Themes
Selecting Deluxe Installs gives you free access to the following open source themes from Automattic:
astra
blocksy
hello-elementor
hestia
neve
oceanwp
ultra
twentyfifteen (also in regular installs)
twentyseventeen (also in regular installs)
twentysixteen (also in regular installs)
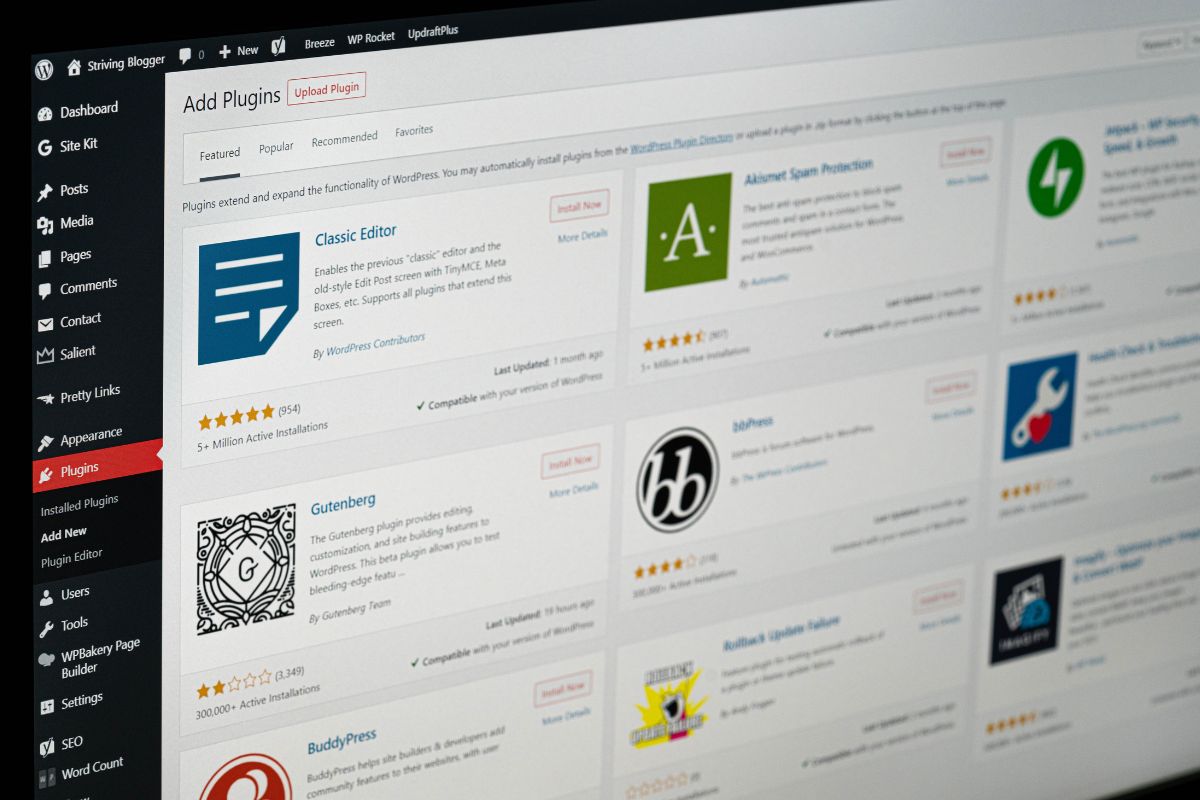
Plugins
WordPress Deluxe Install also includes these popular plugins that you can use to build your website:
All in One SEO
Hello Dolly
Jetpack
WP Mail SMTP
WP Super Cache (automatically enabled)
WPForm Lite (automatically enabled)
Askimet (also in regular installs)
Security Enhancement
Finally, Deluxe Install adds an extra layer of protection against the execution of scripts in your upload directory.
This means that if your website is compromised by a malicious script, the script is automatically returned as a download when accessed.
This keeps the script from running, thus preventing further damage.
WordPress Settings
Once you’ve completed the WordPress installation correctly, it is wise to take a look at the WordPress settings so you can get to grips with the software.
While WordPress is user and beginner-friendly, it can be overwhelming at first glance.
Basically, this area of your dashboard will be your toolkit, where you can define, customize, and control different areas of your website.
WordPress has 6 subpages in its settings hub.
Below, we’ll go through each subpage in detail so you know exactly what you’re looking at when you open it for the first time.
General Settings
First you have your “General” settings, which let you customize the most basic elements of your website. You’ll first see your “Site Title” and “Tagline” at the top.
Your site title will be seen in the title bar of your browser and search engine once your site is published, while your tagline will be displayed underneath the title.
Next, your “WordPress Address (URL)” and “Site Address (URL) will likely be the same as each other. This will be your website URL.
Below that is your “Email Address,” which should be your primary email address to which you want admin-specific information sent.
Next is the “Membership” checkbox, which lets you decide whether or not anyone can register on your website, while the “New User Default” dropdown menu sets a default role for new subscribers.
Finally, the last few settings allow you to change your timezone, default language, and week start date.
Writing Settings
The “Writing” settings focus on the default formatting options for your posts and pages’ editor screens.
The first three options are related to post formatting and handling emoticons and XHTML. The dropdown menus let you set a default format for posts.
Below this, the “Press This” section is a function that lets you bookmark and edit web pages before publishing them.
Next, the “Post via email” option allows you to publish blog posts via email.
Finally, the “Update Services” section lets you decide how you want to notify subscribers of new content.
Reading Settings
The “Reading” settings relate to how visitors view your website. It allows you to change how your page is seen and what pages your visitors are taken to.
The first two options allow you to choose whether you want a static homepage or if you want your latest posts to be seen first.
The next two sections let you decide how many blog posts are seen at any given time, including letting you decide to either show the full text or a summary.
Finally, the “Search Engine Visibility” checkbox lets you request that search engines don’t show your site in their rankings.
Discussion Settings
“Discussion” settings enable you to control how your readers interact with your content and manage your engagement.
With these settings, you can moderate your comments, choose how your readers communicate, and blacklist any spammers.
Media Settings
Used to define image sizes, the “Media” settings are very simple.
With these sections, you can choose from default sizes, such as “Thumbnail,” “Medium,” or “Large,” or customize image sizes yourself.
Permalinks Settings
The final section is the “Permalinks” settings. This section allows you to format your individual page’s URLs for better SEO capabilities.
Final Word
Installing WordPress on your DreamHost website is simple and can be a huge benefit to you and the success of your website.
Whether you’re running a blog or a business, WordPress is a great tool that can help you build an incredible site.
Hi, my name is Ollie Wilson and I have been a keen blogger since I was a young teen. I was growing up with the rise of YouTube and bloggers, and the people I followed influenced me to start blogging. They were making a lot of money from their blogs, and I wanted that too!
I’ve now had this blog for almost a decade. In that time, I’ve learned how to monetize it to start earning money, which servers are the best for each blog type, and how to optimize your domains.
Now it’s time to share my knowledge and help others create their own successful blogs, just like I wish I had when I was creating my first blog. It can be daunting when you first set up your site, but with my advice, you’ll have a great looking blog in no time. Let’s get started!


")


")
")


