
Today we will look at how to change a template in Squarespace.
One of the best features of this website builder is that you can change the layout and structure of your website at the click of a button.
This makes it useful if you ever decide that you are not happy with the way the website looks more works, and with a little bit of playing around; you can change things in a matter of minutes.
Please note that this feature is only available in the Squarespace 7.0 version, and is not available in the 7.1 version.
Here’s how it’s done.
What Is Template Switching?
If you want to switch to a new template, this will allow you to change your site’s design and how it is structured, which describes the navigation and user experience whenever someone visits your website.
The good news is that even if you do this, most of your content will stay intact and you won’t have to play around with text and images, and other multimedia elements of your website.
This is a powerful feature, and What makes this even more accessible for users of Squarespace is that it enables you to make as many changes to your templates as you see fit, as often as you want.
This allows you to split test different website templates and see which one you think looks most appealing, which can reduce your bounce rate.
Please note that when your website is live, that only one template can be used at a time.
How To Preview Your Template
Once you have installed a new template, you can preview it on your website and see how it looks. And then once you have decided that you like it you can then switch it and set it as your live template.
There are a couple of things to keep in mind when NZ playing around with templates that are worth noting:
- You will only be able to see your draft template when you are logged into your account
- Only you will be able to see your preview template: and it won’t be live so users won’t be able to see it
- If you don’t like your draft templates, you do not need to worry about using them, and can be reverted to their original template.
Testing templates without losing the design is an important step in the design process, and you don’t need to worry that loads of changes will happen to your website if you decide to switch between two templates.
Step-By-Step Guide To Switching Templates
We’ve explored the many benefits of switching templates; now it’s time to begin the process.
Preparing Layout Changes
The first step and one of the most important steps is that you review what you were going to see C&A changes that are going to be made.
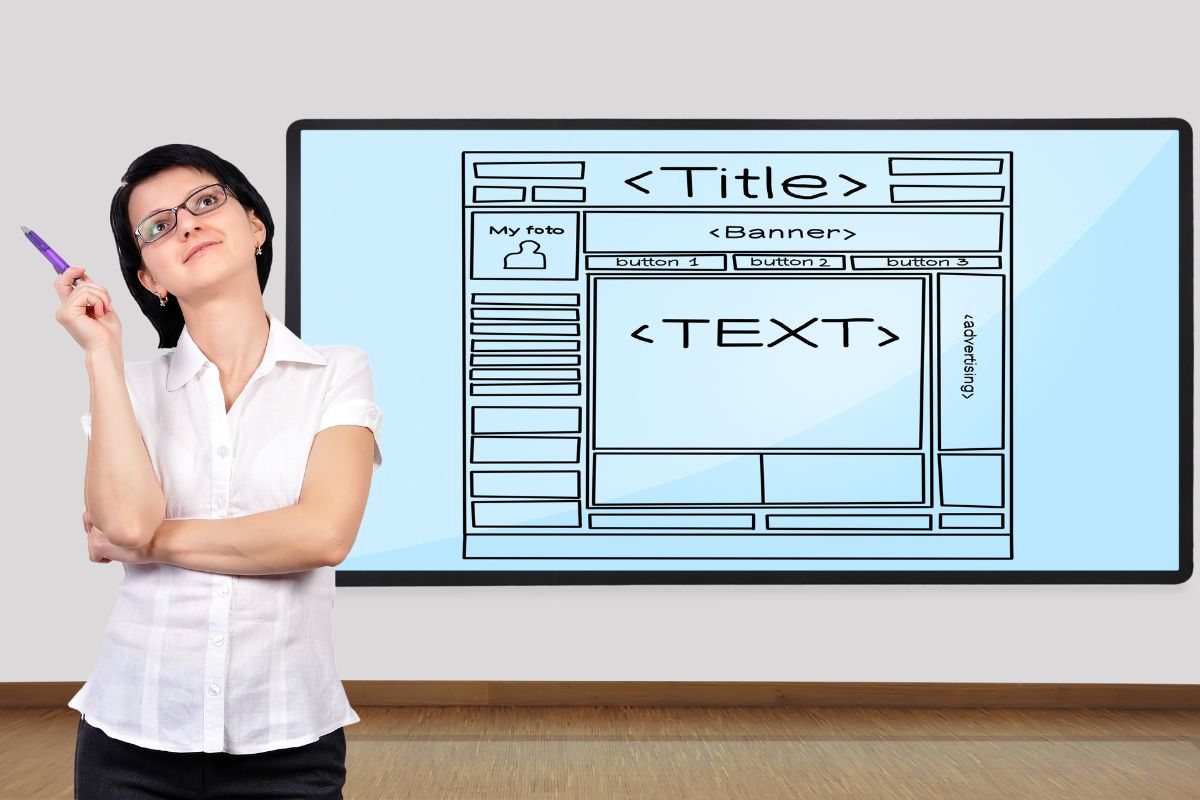
You need to take into consideration how your website looks and how it navigates with its sidebars, banners, images, header, and footer, as well as the index page.
Unlike other website creation methods, such as WordPress, when you make a change to the sidebar, header, and footer, it will reset in a new template. This means that you will need to add new content.
Installing A New Template
To install a new template, navigate to the home menu, click Design, and then click the template option.
Select Install a new template, and it will open up a selection of available templates for you to choose from.
Once you have selected your chosen template, hover over it and then click the option Start With. Your template will now show up in the template panel, which is just below the live template.
Previewing Your Template
The next step is to preview your templates and see how it looks. to do this, hover over the template and click the Preview option. You will then see the following changes:
- The main navigation of the templates will show a demo no to give you a brief understanding of the type of style option that it has, and also the structure of the template. It will show this without your content, so you need to select it if you want to see how it looks with your text and images.
- Current pages on your website will move to the Not linked section located under the Pages panel tab. Don’t worry, as you can move these to the main navigation tab once the template has been set up.
If you do not want to view the preview, you simply click Cancel preview located in the bottom bar, and any changes that have been made to the template to automatically save.
Moving Pages
Now onto the important step; editing your site. In preview mode under the Home menu, you click Pages.
You can now remove the content that was provided by the demo, no, and transition the Not linked section to the navigation areas.
Remember that visitors to the website will not see any of these changes until the site has been published and gone live.
At this point, it’s worth mentioning that you don’t delete pages in preview mode as this will ultimately affect the website. A best practice is to move them to the not linked section before publishing the template.
Styling The Template
Now for the fun part. You can begin to edit the template design and all of the colors and backgrounds, as well as the padding.
Each template has its variety of styles, so expect things to be different from your previous template.
When you are ready to Publish the template, click the set as live template option which is located in the bottom bar.
Finally, click Confirm once the message pops up and it will not be live for visitors to see.
Final Thoughts
Switching templates doesn’t need to be complicated, and Squarespace has done a great job in making it as user-friendly for websites created as possible.
Even if you’re not happy with your new templates, you can just as easily revert to the old template.

I’ve now had this blog for almost a decade. In that time, I’ve learned how to monetize it to start earning money, which servers are the best for each blog type, and how to optimize your domains.
Now it’s time to share my knowledge and help others create their own successful blogs, just like I wish I had when I was creating my first blog. It can be daunting when you first set up your site, but with my advice, you’ll have a great looking blog in no time. Let’s get started!
- The 20 Best Blogging Courses That Are For Beginners - December 7, 2022
- 20 Best WordPress Plugins For Blogs For Effective Blogging! - December 7, 2022
- 5 Excellent Affiliate Marketing Courses To Learn - December 6, 2022
Related Posts:
")


