If you’re interested in building a website or a blog online, then you’ve probably heard the term ‘website plugin’ thrown around from time to time.
Plugins are incredibly useful tools that can really help your website grow – but if you don’t know what plugins are, it can all seem a bit confusing.
Luckily, we’re here to help clear things up a bit! In this handy guide, we’ll teach you all there is to know about website plugins – from what they are to what they’re used for, and even how you can install plugins into your WordPress website!
So let’s jump right into it!
What Are Plugins (And What Are They Used For)?
First things first – what exactly is a plugin? Let’s break it down, shall we?
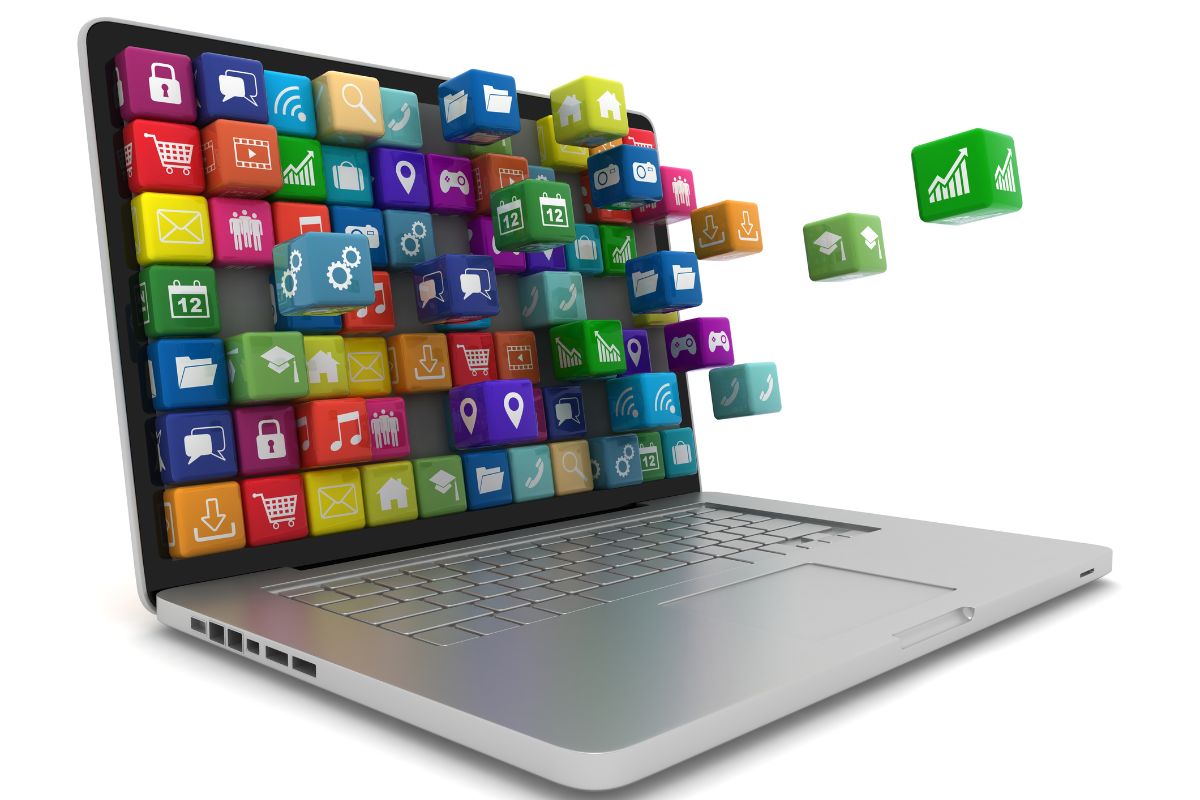
Website plugins are pieces of software that can be installed onto a website to add new features, extend existing functions, and overall make your website easier for yourself and visitors to navigate.
Plugins are typically pretty small pieces of software and usually only serve one or a handful of purposes.
Think of them like an app that you add to your website for a specific purpose that makes it better overall.
Most of the time, plugins are used for websites that have content creation and management in mind – for example, WordPress and other blog sites can use a wide variety of plugins for a better user (and writer) experience.
WordPress in particular has a massive selection of plugins that will let you get the most out of your blog, and can be installed onto your WordPress site or blog in just a few clicks!
What Are Plugins Used For?
Plugins serve all sorts of purposes – basically, if you can think of something that would be handy for your site, chances are there’s already a plugin for it!
Some plugins are used to add features to your site – for example, adding social media widgets to a blog or an About You page, or an eCommerce app to help you grow your online business.
Meanwhile, other plugins let you manage and keep track of your site.
These include monitoring traffic to your website or blog, optimize your site’s reach online, and even just check your spelling and grammar.
With how varied and helpful plugins can be for helping you get the most out of your blog, there’s literally no reason not to use plugins!
These handy bits of software can really step up the quality of your site and give you the best experience possible.
How To Add A Plugin To Your WordPress Website/Blog
So now that we’ve covered a bit more about what plugins actually are, let’s take a closer look at how you can install them onto your WordPress blog or site.
This is really easy to do, and only takes a few minutes.
Step 1 – Open Up WordPress
First of all, you need to open up WordPress. You’ll need the app version instead of the browser one, so download and log into it if you don’t already have it installed.
Once you’ve installed WordPress onto your computer, open it up and sign in to your WordPress account. This will take you to your WordPress dashboard.
Step 2 – Find The Plugin You Want To Install
If you look along the left-hand side of your WordPress dashboard, you’ll see a list of options; one of these is labeled ‘Plugins’.
Click on this to open up a dropdown menu, and then click on the ‘Add New’ option.
This will take you to a new menu with a list of popular plugins as well as a search box that you can use to look up specific plugins that you want to add to your blog.
Type in the name of the plugin (eg. ‘social media widgets’ or ‘SEO’), and search to bring up the plugins that are available to download.
Step 3 – Install And Activate The Plugin
Once you’ve found the plugin you’re looking for, you need to install and activate it so you can use it on your site. This is really simple to do; first, click on the ‘Install Now’ button to start the installation.
This may take a few minutes, but typically you’ll only have to wait for a couple of seconds for the installation to be completed.
You’re not done yet, however, and you still need to activate the plugin before you can use it. Once the installation is complete, the ‘Install Now’ button will change to ‘Activate’.
Click this button to activate your plugin and it will add it to your blog.
Step 4 – Using Your Plugins
Now that you’ve installed and activated your WordPress plugin, you’re able to use it on your blog/website.
If you want to manage the plugins on your site, you can go back to the ‘Plugins’ menu on your WordPress dashboard and click on ‘Installed Plugins’.
This will take you to a page with a list of all your activated plugins. Here you can temporarily deactivate your plugins, or even completely uninstall them.
This is handy if you have conflicting plugins that won’t work together, as you can toggle which ones are active easily.
Depending on the plugins that you’ve installed, you’ll use them differently.
Some plugins are constantly working in the background to improve your blog or site (for example, a spellcheck plugin will be active without you having to do anything), while others will add new tabs or options to the blog itself and will appear in the menus while you’re editing your blog/site.
Final Thoughts
Website plugins are valuable tools that can greatly enhance your website’s performance and make it easier for both yourself and visitors to your site to navigate around.
Whether you’re adding a plugin to optimize your website’s reach, adding a new feature, or simply just for some quality of life improvements, there’s no reason why you shouldn’t be adding plugins to your WordPress site.
Whatever you’re using plugins for, now you know a bit more about what they are, what they’re used for, and how you can install WordPress plugins for yourself!
So now you’ve learned all there is to know about website plugins, all you need to do now is put your newfound knowledge to the test!
Hi, my name is Ollie Wilson and I have been a keen blogger since I was a young teen. I was growing up with the rise of YouTube and bloggers, and the people I followed influenced me to start blogging. They were making a lot of money from their blogs, and I wanted that too!
I’ve now had this blog for almost a decade. In that time, I’ve learned how to monetize it to start earning money, which servers are the best for each blog type, and how to optimize your domains.
Now it’s time to share my knowledge and help others create their own successful blogs, just like I wish I had when I was creating my first blog. It can be daunting when you first set up your site, but with my advice, you’ll have a great looking blog in no time. Let’s get started!


")


")


